A fast way to get started with Agent Development Kit on Google Cloud
Agent Development Kit (ADK) by Google is an open-source framework for creating AI agents. I'll show you how to get started with it using Gemini on Google Cloud and run the included local web interface for development.
Agent Development Kit (ADK) by Google is an open-source framework for creating AI agents.
Prerequisites
Before you begin, you'll need a Google Cloud project with billing enabled.
You'll need a couple of tools installed locally. First, you'll need
uv to manage Python packages. Second,
install the
gcloud CLI to interact
with Google Cloud. Make sure you've run gcloud auth login to authenticate
and gcloud config set project [YOUR_PROJECT_ID] to target your desired
cloud project.
Enable the AI platform API
Before you can use Gemini, you need to enable the AI Platform API for your project. You can enable it using the gcloud CLI:
gcloud services enable aiplatform.googleapis.com
Alternatively, you can also enable the API directly in the Google Cloud Console.
Note that you can also use Gemini without Google Cloud. To learn more, go to ai.google.dev. However, I'll focus on using Gemini on Google Cloud.
Create an agent
First, create a new directory for your project.
mkdir agent-project
cd agent-project
Now, initialize uv in the directory.
uv init
Next, add the google-adk package to your project.
uv add google-adk
Now, create a new agent named agent.
uv run adk create agent
The adk create command walks you through a few setup questions. You'll be
asked to:
-
Choose a model, such as
gemini-2.5-flash. You can easily adjust this selection later in youragent.pyfile. -
Choose a backend, selecting
Vertex AIto query the model through Google Cloud. -
Confirm your Google Cloud project and region. If your
gcloudCLI is configured, the wizard automatically suggests your active project. If it defaults the location tous-central1, I recommend changing it toglobal.
The command then creates a new directory agent with a few files, including
agent.py with this agent implementation:
from google.adk.agents.llm_agent import Agent

root_agent = Agent(
    model='gemini-2.5-flash',
    name='root_agent',
    description='A helpful assistant for user questions.',
    instruction='Answer user questions to the best of your knowledge',
)
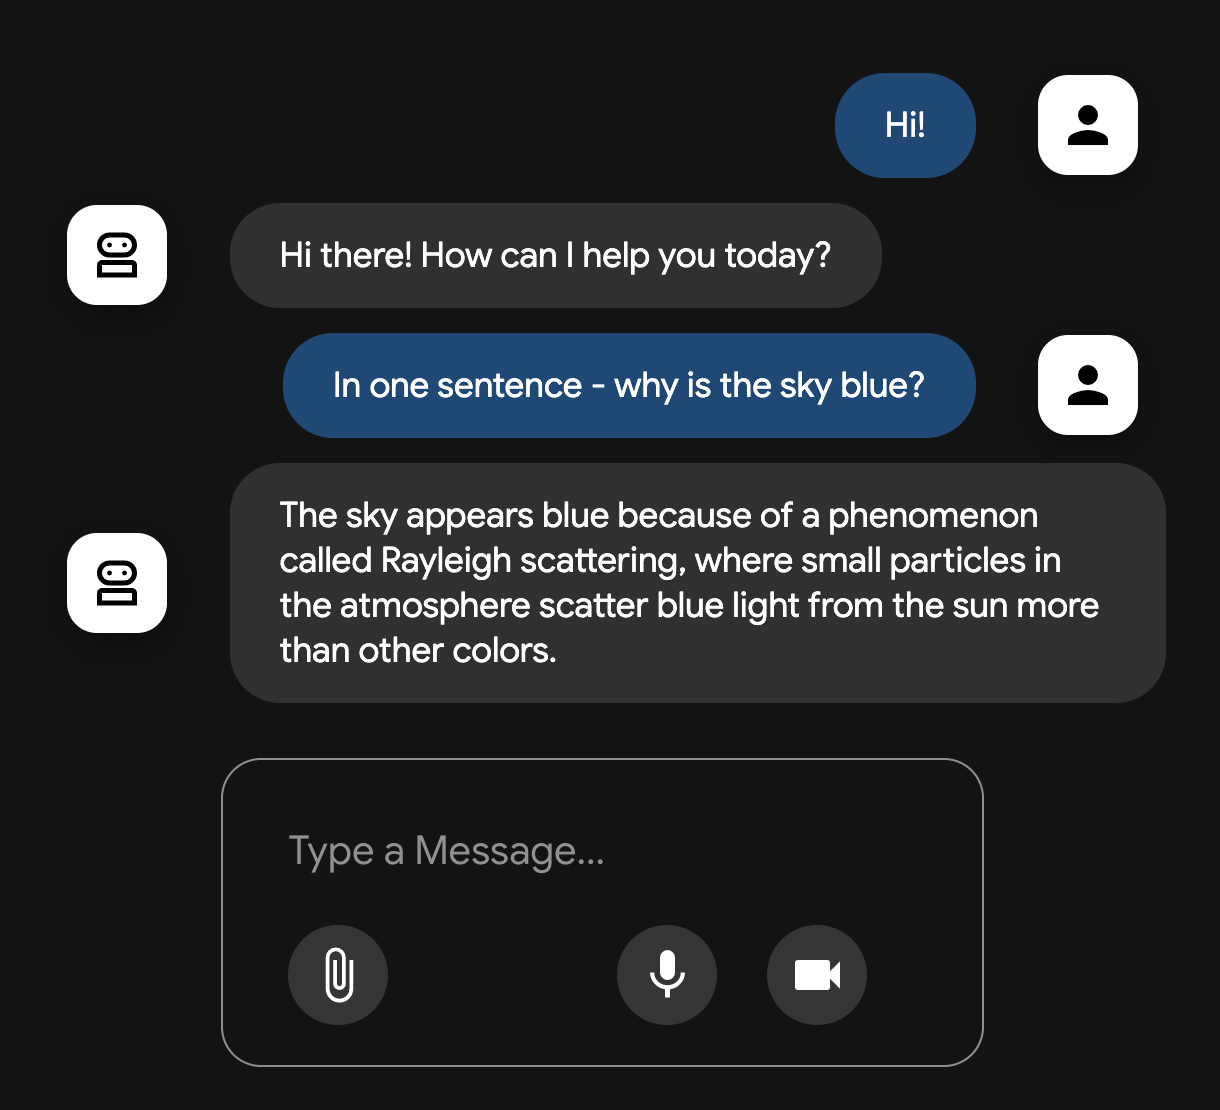
Finally, start the ADK web UI.
uv run adk web --reload_agents --allow_origins="*"
This starts a local web server and opens the ADK web UI in your browser. The
--reload_agents flag makes sure that any changes you make to your agent's
code are automatically reloaded by the server. You can now chat with your agent.
You only need to add the --allow_origins="*" flag for the ADK web UI to
work in Cloud Shell. In other environments you can use
uv run adk web --reload_agents.
When the server starts, you'll see a message in the console:
ADK Web Server started

For local testing, access at http://127.0.0.1:8000.
If you're using Cloud Shell, hovering over the URL will turn it into a clickable link—you can click it and it'll automatically set up Web Preview so you can view the ADK web UI.
Cloud Shell Web Preview uses a secure proxy service that allows you to view running web applications on your Cloud Shell virtual machine instance through the Google Cloud console.
Modifying your agent's configuration
You can change your agent's configuration after it has been created.
The selected model is specified directly in agent/agent.py, where you can
edit the model parameter in the Agent constructor to swap in
any compatible Gemini model.
Your Google Cloud project and region configurations are stored in
agent/.env. You can modify these settings or manually recreate the file
using three environment variables:
GOOGLE_GENAI_USE_VERTEXAI=1
GOOGLE_CLOUD_PROJECT=[YOUR_PROJECT_ID]
GOOGLE_CLOUD_LOCATION=global
Make sure to replace [YOUR_PROJECT_ID] with your actual Google Cloud
project ID. Note that without setting GOOGLE_GENAI_USE_VERTEXAI=1, the SDK
defaults to the Google AI endpoint instead of Vertex AI.
Using the global endpoint
Using the global region provides a single, globally resilient endpoint.
This means that instead of being tied to a specific geographic location, your requests
are dynamically routed to the most available resources to keep uptime. You don't control
which region handles the request; the system prioritizes for availability. You can read
more about this in the
Vertex AI documentation.
Wrap up
You've now created a basic agent with the Google ADK, configured it to use Gemini on
Google Cloud, and launched the web UI. You also know how to modify the agent's
configuration by editing the agent.py and .env files.
As a next step, you can start adding tools to your agent to give it more capabilities. I wrote another post to show you how to add Python functions as custom tools to your ADK agent.
